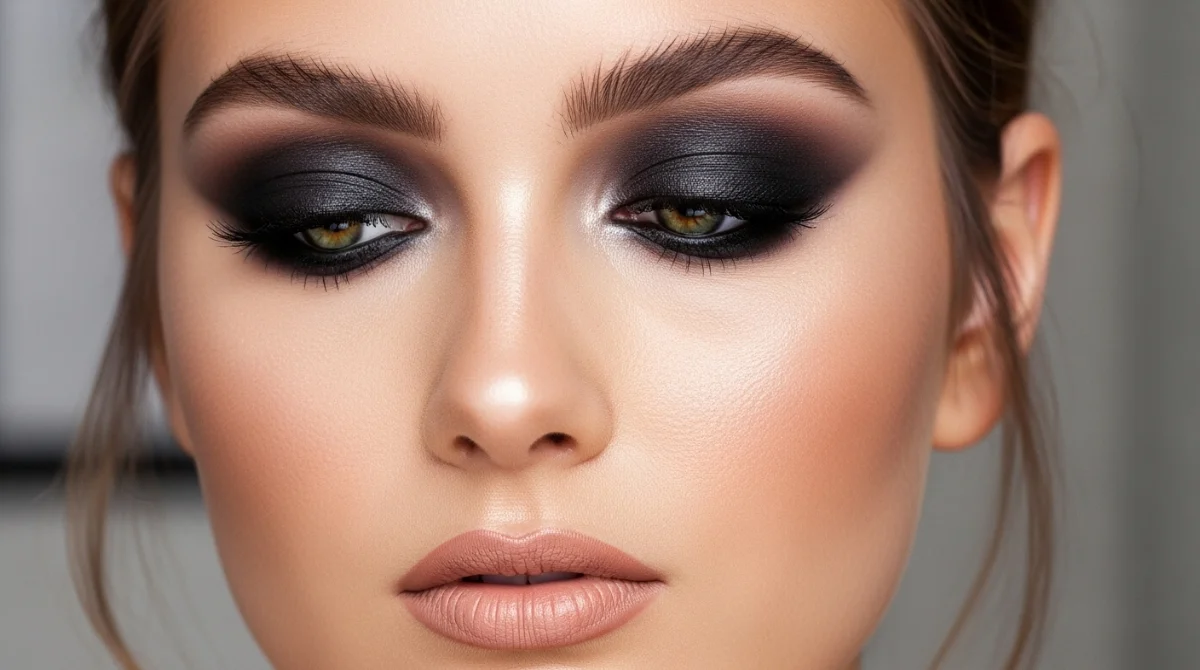
Smokey eyes are a timeless makeup look that never goes out. They make your eyes look bold, mysterious, and very glamorous at night. In this smokey eye makeup tutorial, you will learn step-by-step methods. You will also see tips, product advice, and variations to try.
What Is a Smokey Eye Look?
The smokey eye is all about blending dark shadows seamlessly together. It creates a gradient from dark at the lash line to lighter shades above. This technique frames the eyes and makes them appear bigger and dramatic. Different styles include classic black, bronze smokey eye, and even colored options.
Prep & Tools You’ll Need
Before starting your smokey eye look, proper preparation makes a big difference. Priming ensures your makeup lasts longer without smudging or fading away. Having the right brushes and tools makes blending much easier. Choosing the best eyeshadow palette also creates a smoother, flawless finish.
Skin Lid Prep (Primer, Concealer, Base)
A smooth canvas is essential for clean and long-lasting eye makeup. Apply an eyeshadow primer or concealer to your eyelids to lock shades. This will stop creasing and help colors appear more vibrant. A well-set base is the secret behind a perfect smokey eye.
Essential Tools and Brushes
Good brushes make the smokey eye look easier to achieve at home. You’ll need a flat brush for placing color on the lids. A fluffy blending brush helps soften lines and create a gradient. A pencil or smudge brush will blend eyeliner and under-eye shadows.
Recommended Products (Eyeshadow Palettes, Liners)
The right eyeshadow palette can make blending quick and effortless for beginners. Choose palettes with transition shades, deep tones, and lighter highlights. Black, brown, or gel eyeliners are perfect for creating depth and intensity. Below is a simple table comparing eyeliner types for smokey eyes.
| Eyeliner Type | Best For | Pros | Cons |
|---|---|---|---|
| Pencil Liner | Beginners | Easy to use, blendable | Smudges faster |
| Gel Liner | Intermediate | Bold color, smooth texture | Needs brush |
| Liquid Liner | Advanced | Sharp definition, long lasting | Harder to blend |
Step-by-Step Smokey Eye Makeup Tutorial
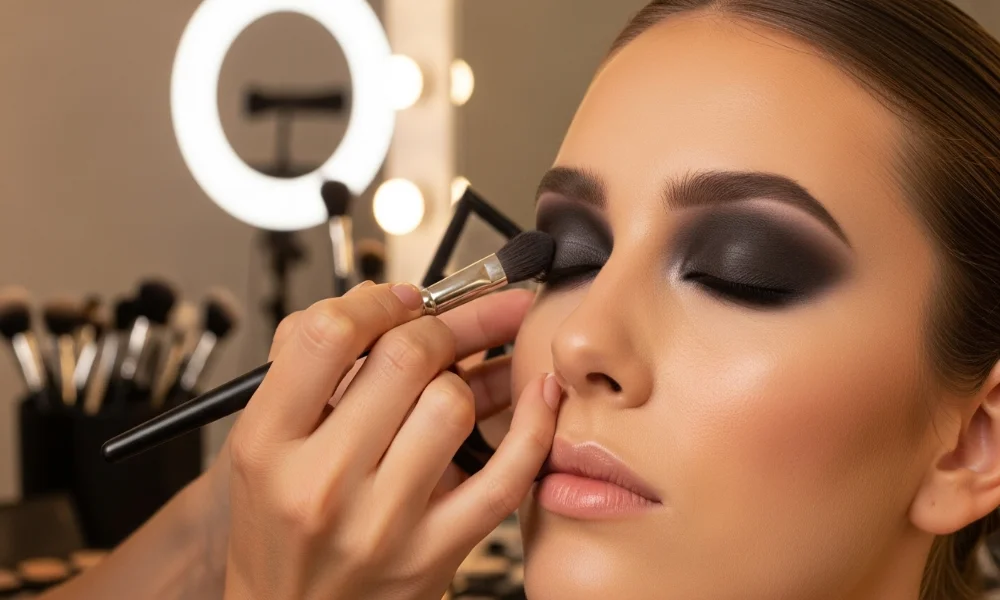
This section is the heart of the tutorial with step-by-step guidance. Each step is easy to follow so even beginners can master it. By the end, you’ll be confident in creating this glamorous look. Let’s dive into the detailed steps for the perfect smokey eye.
Step 1 Lay Down a Base & Transition Shade
Start with a neutral transition shade slightly darker than your skin tone. Blend it across the crease to create depth and a smooth canvas. This transition will help blend the darker colors used later. Think of it as building a foundation for your smokey eye.
Step 2 Build Up Darker Shade in Crease & Outer Corner
Take a darker shade like charcoal, brown, or navy for intensity. Apply it to the outer corner and sweep into the crease line. Blend carefully to avoid harsh edges and keep the gradient soft. Slowly layer more color instead of applying too much at once.
Step 3 Blend Out Harsh Lines
Blending is the most important part of this smokey eye makeup tutorial. Use a clean fluffy brush to soften any edges between shades. Circular motions will help mix the tones into a seamless gradient. Keep blending until everything looks smooth and natural.
Step 4 Apply Eyeliner & Smudge
Add eyeliner along the upper lash line for more drama and depth. Smudge it with a pencil brush to create a soft smoky effect. You can also line the lower lash line for a bolder finish. Smudging creates that sultry look without looking too harsh.
Step 5 Highlight, Mascara, Lower Lash Line
Apply a light shimmer shade on the inner corner and brow bone. This brightens the eyes and gives them dimension against darker tones. Smudge a little shadow on the lower lash line for balance. Finish with mascara or even lashes for maximum effect.
Step 6 Final Touches & Clean-up
Use concealer to clean the edges and sharpen the overall look. This removes fallout and makes the smokey eye appear polished and neat. Add any finishing details like more mascara or false lashes. Now, your smokey eye look is ready for any occasion.
Transform your daily makeup routine with our step-by-step Easy Makeup Ideas that save time and look amazing.”
Variations & Creative Smokey Eye Looks
The smokey eye can be customized to suit every mood or event. From subtle shades for daytime to bold black tones for night, it adapts well. Using bronze, gold, or even colorful shades can create new dimensions. Let’s explore different variations of this classic eye makeup look.
For creative look check clown makeup ideas
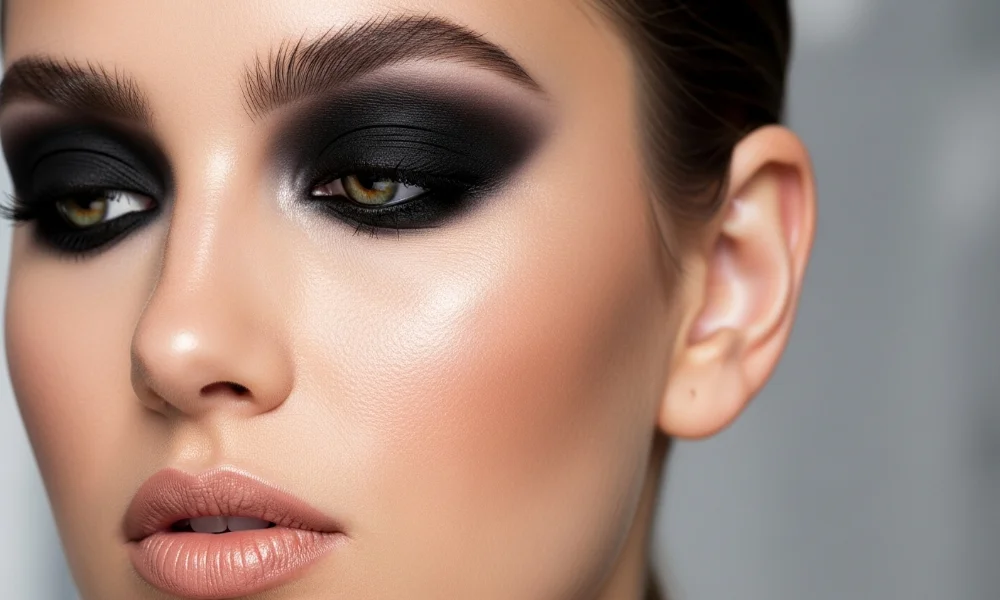
Classic Black Gray Smokey Eye
This is the most iconic style, perfect for formal or evening events. Use black and gray shadows to build a dramatic gradient effect. Pair it with nude lips to balance the strong eye makeup look. It is timeless and remains a favorite among makeup lovers worldwide.
Bronze Warm Smokey Eye
The bronze smokey eye gives a softer, warm, and glowing appearance. Copper, bronze, and gold shades blend beautifully for natural elegance. It works perfectly for day events or when you want subtle glam. Pair it with peachy blush and soft lips for balance.
Colored Smokey Eye (Purple, Navy, Emerald)
Colored smokey eyes are trendy and modern, making eyes pop instantly. Jewel tones like emerald, deep purple, or navy add unique character. They can suit festive occasions, parties, or fashion-forward events. Colored smokey eyes are a fun twist on the traditional black look.
Soft Daytime Smokey Eye
For a light and wearable version, try a soft smokey eye look. Use lighter browns or taupes and avoid heavy black tones. It’s great for work, casual outings, or daytime brunch events. A soft smokey eye keeps it classy without feeling overly dramatic.
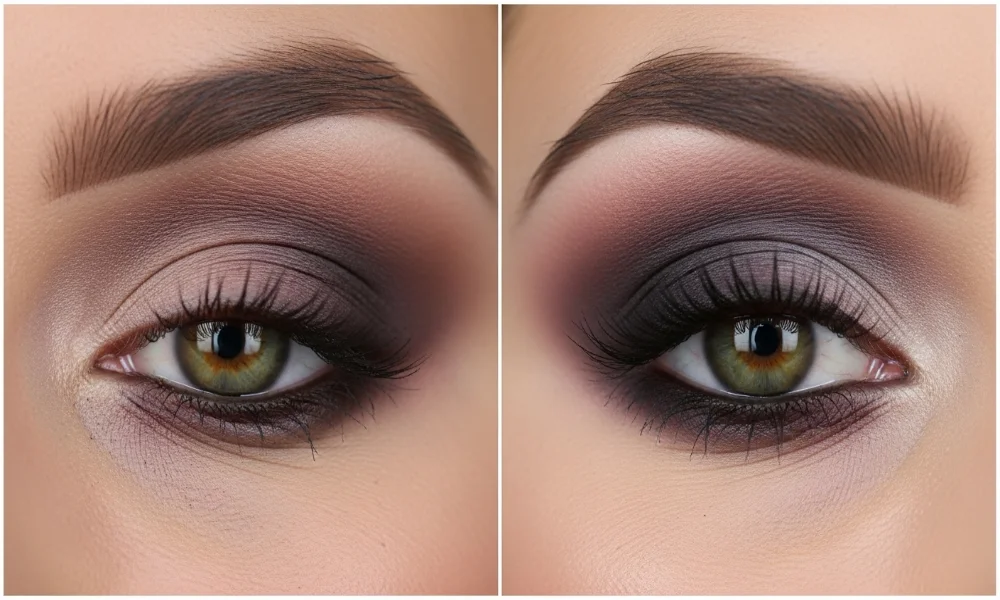
Tips for Different Eye Shapes
Not all smokey eyes are created equal, as eye shapes differ greatly. Hooded, monolid, almond, and deep-set eyes all need tailored techniques. By adjusting placement and blending, everyone can enjoy a flattering smokey eye. Below are tips for different shapes to perfect the look.
Hooded Eyes
For hooded eyes, keep shadow slightly above the natural crease line. This creates the illusion of more space and avoids disappearing color. Blend upward so the smokey effect remains visible when eyes are open. Focus on elongating the shape to lift the overall look.
Monolid Eyes
Monolids need extra attention to blending and gradient placement for effect. Use darker tones closer to the lash line and blend upward smoothly. Adding shimmer in the center makes the eyes look rounder and bigger. Eyeliner helps add depth and definition to the monolid eye.
Deep-set Prominent Brows
Deep-set eyes benefit from lighter shades across the lids for balance. Keep darker tones lower and blended out toward the corners naturally. Avoid taking color too high, or the look becomes too heavy. Highlighting the brow bone adds brightness and prevents the look from sinking.
Almond Rounded Eyes
Almond eyes are the easiest for smokey eye makeup because of shape. You can experiment with different shades and intensities with success. Rounded eyes look best when elongated with winged blending of shadows. Extend darker shades outward to balance and flatter the round eye.
Common Mistakes & How to Avoid Them
Even simple mistakes can ruin the overall smokey eye makeup look. Many beginners struggle with blending, fallout, or using too much product. Here are the most common issues and how you can correct them easily. Following these fixes will make your smokey eye look professional.
-
Too harsh lines → Always blend with a clean fluffy brush.
-
Applying too much product at once → Build layers gradually instead.
-
Skipping primer → Causes creasing and fading during the day or night.
-
Ignoring lower lash line → Makes the look incomplete and top-heavy.
-
Too much shimmer → Overpowers the gradient, use shimmer only to highlight.
Read More About : Fairy Makeup Ideas: Which Magical Look Will You Try?
FAQs
Can I wear smokey eye during the day?
Yes, try a soft smokey eye with lighter browns and taupes.
How do I make my smokey eye last longer?
Always use primer and set with powder to prevent creasing.
What’s best for aging eyes?
Avoid heavy shimmer and use matte shades for a soft effect.
Is smokey eye makeup suitable for beginners?
Yes, just start with brown tones before trying a bold black look.
Conclusion & Final Tips
Smokey eye makeup is a classic technique that flatters every eye shape. With the right tools, practice, and blending, anyone can master the style. This guide gave you a full smokey eye makeup tutorial with step-by-step help. Now, grab your brushes and create the perfect smokey eye with confidence.