If you’re hunting for zombie makeup ideas that go beyond the usual, you’re in the right place. This guide provides creative looks, practical tips, and clear tutorials that you can follow at home. In just a few minutes, you’ll see how to create creepy, glam, or realistic zombie styles without stress.
Why Zombie Makeup is Popular & When to Use It
Zombie makeup has become one of the most iconic choices for Halloween and cosplay. People love it because it lets them explore their creativity and experiment with special effects. This look works for every age group, from kids’ parties to intense horror events. The great thing is that you can go minimal or go full special effects, depending on your time and budget.
Materials & Supplies You Need for Zombie Makeup
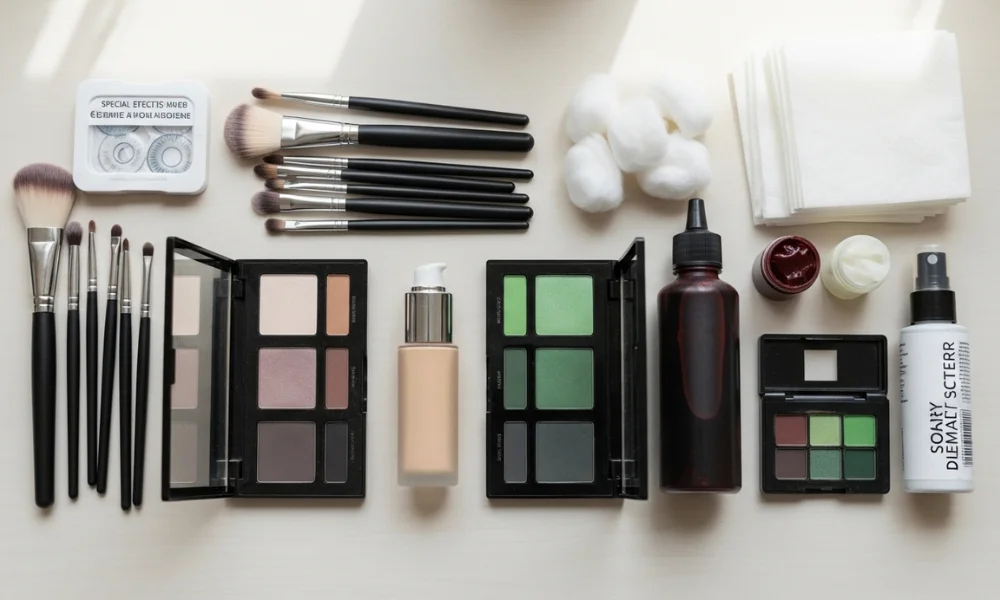
Before diving into the looks, it’s helpful to gather some essential tools. Having the right products saves time and gives you a cleaner finish that lasts. You don’t need an expensive kit to start creating your undead masterpiece at home. With just a few common makeup items, you can achieve a hauntingly good result.
Basic / Beginner Materials
Beginner kits usually include pale foundation, eyeshadow palettes in gray or green, and brushes. These items are easy to find and often already exist in your makeup bag. Using what you have at home can help you create easy zombie makeup without spending extra. Adding fake blood can take your look to the next level instantly.
Advanced Tools
For a more realistic effect, you can add liquid latex, gel products, or prosthetics. These create wounds, scars, and texture that make your zombie makeup look authentic. Advanced tools let you experiment with skin decay makeup or other horror effects at a professional level. They’re ideal if you’re doing SFX zombie makeup for a contest or cosplay.
Optional Extras
Optional extras like contact lenses, cotton, or tissue paper can transform your look further. White or cloudy lenses instantly give that eerie, undead gaze most people love. Cotton and tissue paper are cheap ways to build texture and create wounds without expensive products. Don’t forget a setting spray to lock everything in place all night.
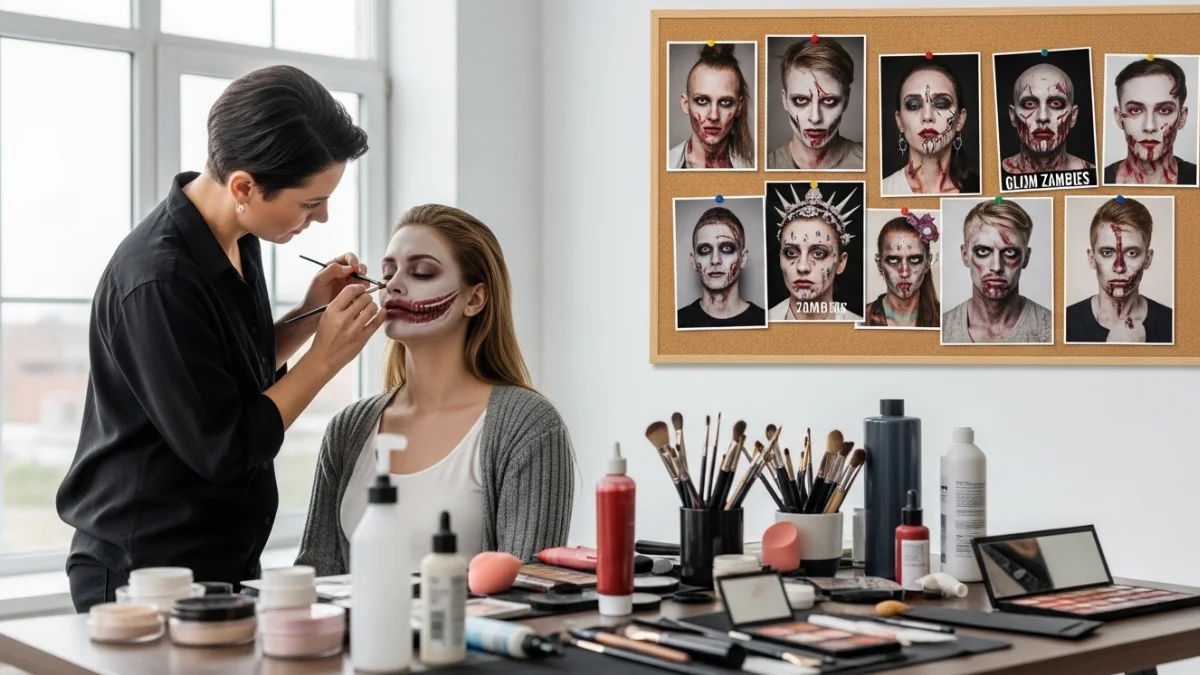
Top Zombie Makeup Ideas & Styles
Below are some of the most popular zombie makeup ideas that you can try. Each style has its own personality, level of difficulty, and standout features. Whether you’re a beginner or advanced artist, you’ll find a look here that suits you. This table gives a quick snapshot of what to expect before you start.
| Style Name | Difficulty | Key Features | Recommended Materials |
|---|---|---|---|
| Classic Zombie | Easy | Pale skin, dark eyes, light wounds | Foundation, eyeshadow, fake blood |
| Glam Zombie | Medium | Glitter, smoky eyes, subtle wounds | Glitter eyeshadow, lashes, pale foundation |
| Half-Face Zombie | Medium | One side decayed, one side glam | Liquid latex, tissue paper, brushes |
| Zombie Bride/Nurse | Medium | Costume themed, dramatic features | White dress/costume, prosthetics, fake blood |
| SFX/Gore Zombie | Hard | Heavy wounds, prosthetics, gore | Liquid latex, gel blood, prosthetic pieces |
| Zombie for Kids | Easy | Mild, non-scary features | Face paints, light bruising colors |
| Minimal/Easy Zombie | Easy | Simple shading, minor wounds | Eyeshadow, eyeliner, light fake blood |
Classic Zombie / Undead
The classic zombie is pale, sunken, and slightly decayed, making it a timeless favorite. This style is simple enough for beginners but still delivers a striking result. You’ll use pale foundation, dark shadows around the eyes, and small touches of fake blood. In just a few steps, you can look like you stepped straight out of a horror movie.
Glam Zombie
A glam zombie blends horror with beauty for a totally unique look at parties. It features glittery eyeshadow, false lashes, and subtle wounds that keep it spooky yet stylish. This is perfect for people who want to impress without looking too gory or frightening. You can also add rhinestones or metallic effects for extra flair.
Half-Face Zombie (One Side Decayed)
Half-face zombie makeup lets you show off two personalities at once, which is always fun. One side of your face can stay glam while the other side looks completely decayed. This technique involves tissue paper or liquid latex to build wounds and texture. It’s a great choice for intermediate artists who like dramatic transformations.
Zombie Bride / Zombie Nurse
Zombie bride or nurse looks are great for themed costumes and events. These ideas let you blend creepy undead makeup with dramatic costume pieces. You can add heavy fake blood, torn fabric, and a white dress or uniform for full effect. This style is fun because you can personalize it while still keeping it spooky.
SFX / Gore Zombie
This look takes your zombie makeup ideas to a full professional level with prosthetics and gore. It’s perfect for horror fans who want a shocking transformation at parties or competitions. You’ll use liquid latex, gel blood, and prosthetic pieces to build realistic wounds and decayed skin. This level requires patience but the results can be jaw-dropping and memorable.
Zombie Makeup for Kids
A kids’ zombie look is much softer and less frightening, making it perfect for family events. You can use face paints in green, gray, and blue to create mild bruising or shadows. Avoid harsh wounds or gore and keep the designs simple yet fun. Children enjoy looking spooky without being too scary for their age group.
Minimal / Easy Zombie Look
This is a go-to for last-minute parties or anyone who wants low effort. It involves using eyeshadow to create sunken eyes, light bruising, and small streaks of fake blood. You don’t need special products, and you can finish the whole look in under 10 minutes. This is also great if you’re testing zombie makeup ideas for the first time.
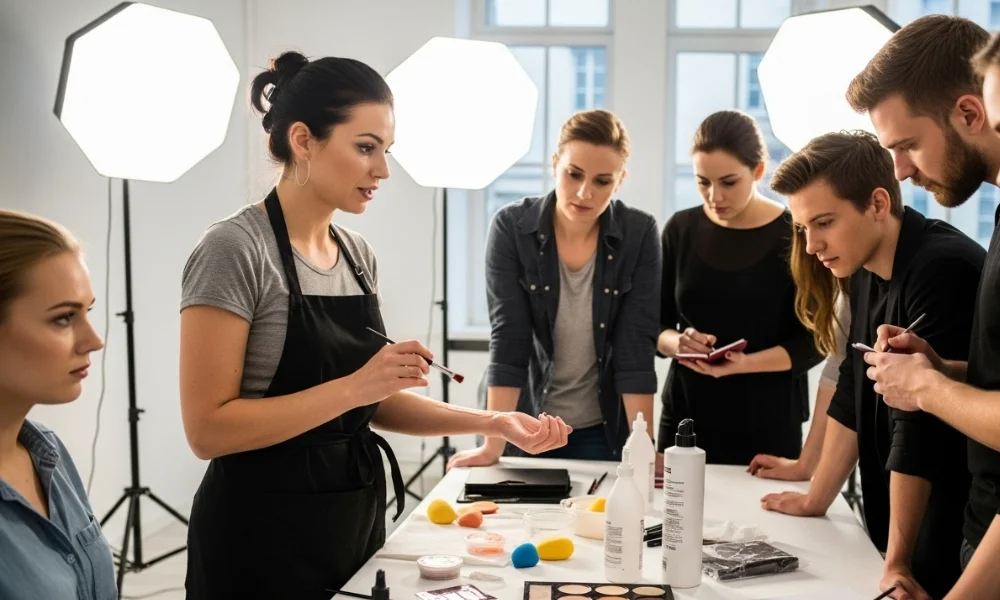
Step-by-Step Tutorial: Creating a Realistic Zombie Makeup Look

This simple tutorial will guide you through making a realistic undead face at home. Each step uses accessible materials, so you can follow along easily. Take your time, have fun, and experiment with colors to create your own version. In a few steps, you’ll look like a convincing zombie without breaking the bank.
Step 1 Prep & Base Layer
Start with a clean, moisturized face to protect your skin before makeup. Apply a pale foundation or white face paint as your base to create that undead look. Make sure to blend it evenly on your face and neck for consistency. This layer sets the stage for everything else you’ll do next.
Step 2 Shadows, Contouring & Sunken Features
Use gray, green, or dark purple eyeshadow to contour your cheekbones, temples, and eyes. This creates the hollow, sunken effect that defines zombie makeup ideas and looks. Blend the shades outward to make it look more natural and decayed. Adding a touch of blue or green under the eyes can enhance the undead feel.
Step 3 Creating Wounds / Texture
For realistic wounds, dab a thin layer of liquid latex or eyelash glue where you want cuts. Stick small pieces of tissue paper on top and tear the edges to create jagged skin. Once dry, paint over with reds, browns, and purples for a raw effect. This step is key to making your zombie look convincing and textured.
Step 4 Coloring, Bruising, Veins
Use a mix of dark purples, blues, and reds to paint bruises around your wounds. Lightly draw thin blue lines to mimic veins and make the skin appear more lifelike. This subtle detailing makes a big difference to your zombie makeup ideas outcome. Blend everything gently for a natural, decayed finish.
Step 5 Adding Fake Blood / Gore
Drip fake blood into the wounds you created and let it run naturally for realism. You can also use gel blood for a thicker, clotted look if you prefer. Focus on edges of wounds and mouth corners for a creepy effect. This step instantly elevates even simple zombie looks to something more dramatic.
Step 6 Finishing Touches / Set & Protect
Add contact lenses, teeth paint, or glitter (if doing a glam version) for final touches. Spray with a setting spray or use translucent powder to keep everything in place. These finishing details make your zombie look last through an entire event. Always remember to remove makeup gently to protect your skin afterwards.
Tips, Mistakes & Safety Advice
Zombie makeup can be fun, but it’s important to do it safely and effectively. Many beginners apply too much blood or make harsh lines that look fake. Take time blending and layering colors slowly for a better finish. Always test special-effects products on a small patch of skin first.
Another common mistake is forgetting to remove and care for the skin after the event. Use a good oil-based remover or micellar water to gently remove everything. Moisturize your skin well to avoid irritation from face paints or latex. If you have sensitive skin, choose hypoallergenic products or natural alternatives.
Conclusion
Zombie makeup ideas offer endless possibilities from easy looks to dramatic SFX creations. With the right supplies and a little creativity, anyone can pull off a convincing undead style. Whether you’re going for glam, gore, or something in between, these tips and tutorials have you covered. Now grab your brushes, fake blood, and imagination and create your best zombie look ever!